How to Connect a Wireless Router

When connecting a Wireless Router to the Internet and to provide a WLAN (Wireless Local Network) for local connectivity, it is important that you firstly have a working Broadband DSL connection to the Internet via a DSL modem. A lot of non-technical people get confused about the difference between a wireless router and an Internet Gateway Router, which has a built-in modem and so does not need a standalone DSL modem.

Let us assume you already have a DSL Modem and you have tested connectivity to the Internet through the modem with a PC. Now we need to connect the wireless router to the DSL Modem and also set up the local Wireless LAN to enable local devices to connect wirelessly with the device. If you have a cable modem, because your broadband service from your Internet Service Provider is a cable service then the setup is very similar, having already tested the functionality of the Cable Modem. In order to connect to the wireless router, your PCs, Notebooks or even Gaming Consoles need to support the IEEE 802.11 wireless standards. In other words they must have a wireless NIC card either built-in to the Motherboard or you will need to purchase a wireless adapter, the most common being USB Wireless Adapters which are largely Plug and Play

Another important thing to remember when purchasing your wireless router, is to make sure it is not a wireless access point, otherwise it will not have the routing function which essential to connect your wireless devices to the Internet.

Image result for How to Connect a Wireless Router

We are almost ready to start connecting our wireless device, so it would be a good idea to have a copy of any set-up instructions that came with the device. They will be very similar, regardless of the manufacturer, but there will be subtle differences.

Switch off or unplug your existing DSL Modem or Cable Modem. If it is a DSL Modem then it will be connected to a telephone point with a supplied telephone cable, usually via an ADSL filter. Next take the network cable supplied with your wireless router and plug one end into the RJ-45 receptacle on the DSL Modem (there will usually only be one). Connect the other end of the cable into the WAN port on your wireless router. Most wireless routers also have 4 ports to enable you to connect 4 separate PCs via cables. The WAN port is normally distinct from the computer ports my means of colour coding or due to the fact that it is separate from the other 4 ports.

The next step is to plug in and switch on the DSL Modem and wait few minutes to enable it to boot and then synchronise with the Service Provider network via the telephone cable. Your DSL Modem will normally have a visible LED indicating a successful connection to the Internet.

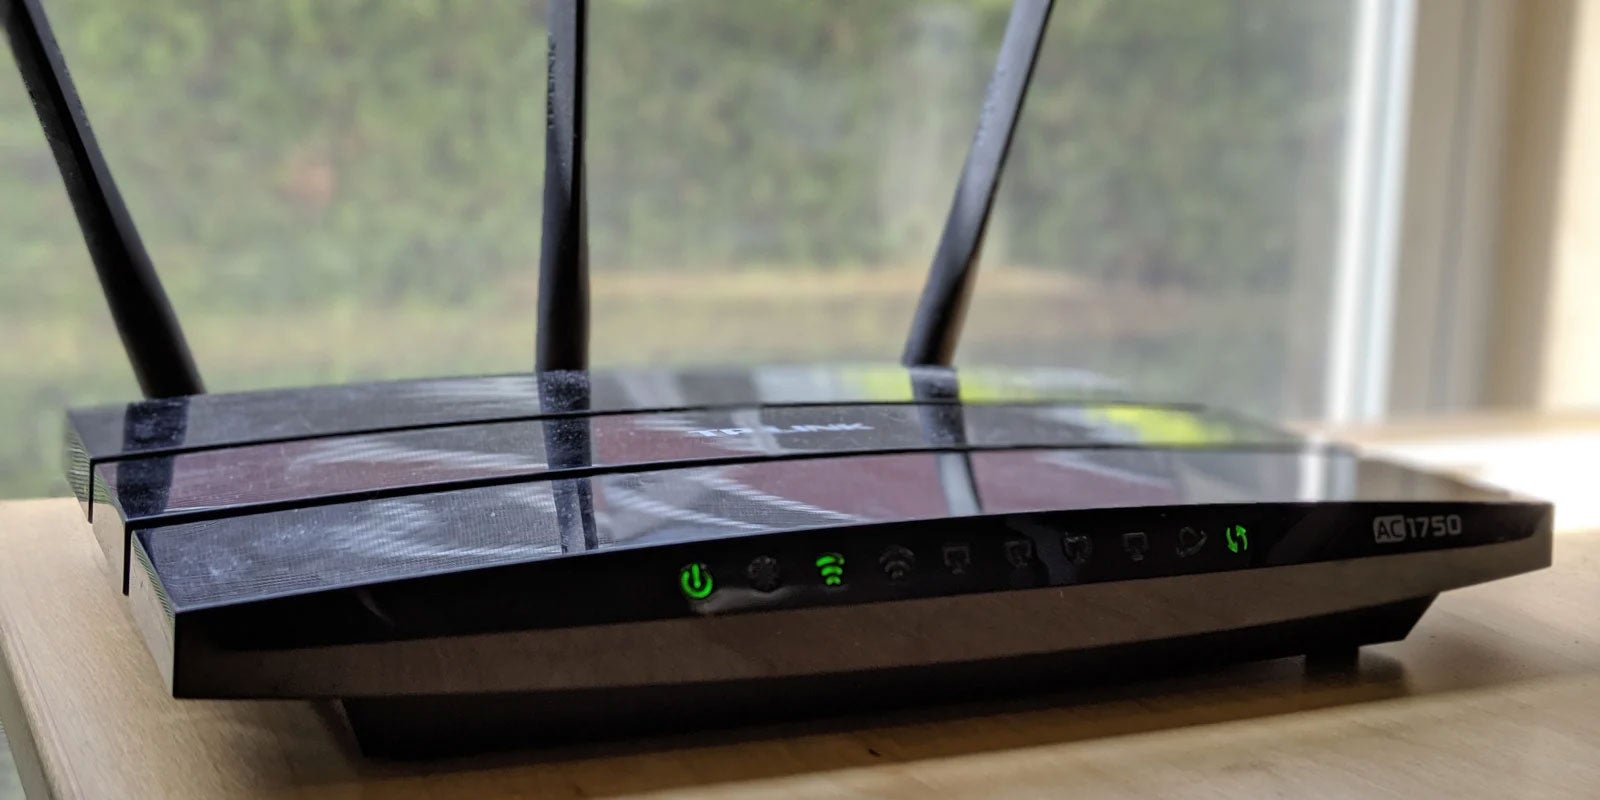
Now switch on your wireless routing device that you previously connected to the DSL Modem, and shortly a green LED will normally indicate successful connection to your Modem. We are now almost ready to start configuring the Wireless Router itself.

Routers and Modems: What’s the Difference?

This is not an uncommon question and the answer is…”Yes, quite a bit of difference!” When you get your computer and want to connect to the Internet, you have to buy a service with an Internet Service Provider (ISP). They issue you a modem which you then use to connect your computer with the phone line so you can access the internet.

The modem translates the data for transmission on the phone lines since the two signals are different. Modems also don’t have a built in firewall so enabling your operating systems’ firewall is important and even better is getting antivirus software installed.

The phone connector goes into the modem and your computer then is attached to the modem with an Ethernet connection. The Ethernet cable has a connection that looks similar to a phone line connector but is larger and won’t fit in the phone line slot.

Image result for Setting Up A Wireless Router

Routers Play a Different Role

The router on the other hand has a different function. If you own one single computer in your home you only need the modem to connect to the Internet. Owning and utilizing more than one computer, you now have what is commonly referred to as a network. You can now link or ‘network’ all your computers together by using a router.

Other computers in your network need to connect to the Internet via the router which interprets data and sends it where it needs to go. A router does not connect directly to the Internet. That is the job of the modem.

Your main computer is connected to the Internet via the modem which in turn is connected to your phone line.

Your router is set up to recognize the other computers on your network. The router is connected to the modem but your networked computers communicate with the router via signals received through its antenna.

Another big plus with owning a router is that if you own a printer with wireless capability, and you own more then one computer; you can ‘network’ your other computers to be able to access the same printer.

You don’t need a router to be able to connect to the Internet but you do need one if you have more than one computer needing access.

What is a Turbocharged Router?

A turbocharged router uses new technology to increase the range and even improve the performance of your router. They are sometimes called a ‘booster’.

They often have more than one antenna so that it can send and receive signals better and over greater distances. The extra antennas compensate for dead space you may have and also runs interference from other wireless devices like cordless telephones.

The security of wireless networking is very important and routers come with firewall security measures installed. Users as well as access to specific applications and websites can be blocked.

What a Router Can NOT Do

There are a couple things that a router can’t do. One is the environment, storms, power outages, etc., which can affect signals regardless of the antennas and network traffic is another.

Now that you know the difference between a modem and a router and what they are both used for, you can move right along and set up your own home computer network.

Setting Up A Wireless Router

Using a wireless router makes computing life much more enjoyable. Why confine yourself to work on the computer in the same location you took it out of the box? Setting up a wireless router is easy and allows you the freedom to access the Internet, files, printers, plus much more, from virtually any location in your house or yard. Before you shake your head about setting up a wireless router on your own, trust me, if I can do it, anyone can.

Here are some simple steps for setting up your wireless router.

Select the correct wireless router for your needs.

If you walk into your nearest Best Buy or other computer store, you will see they have a wide variety of routers available. There are basically (3) wireless networking technologies on the market today; 802.11a, 802.11b, and 801.22g. So what are the differences between these wireless technologies?

802.11a wireless protocol is the oldest version of wireless networking technologies currently available. While you may find 802.11a wireless hardware at discounted prices, I would strongly urge you to avoid them. 802.11a is limited in range and capacity versus 802.11b and 802.11g. So why set up your first wireless network with the oldest technology.

Related image

802.11b wireless protocol (11Mbs) is by far the most common wireless technology in use today. If you select this wireless protocol, you will be fine. But why not start with the latest and greatest wireless protocol currently available?

802.11g is the best wireless technology on the market and all new computers with built-in wireless cards utilize this protocol. 802.11b wireless protocol was superceded by backwards compatible 802.11g (54Mbs). What this means is that if you have an 802.11b card on some of your computing devices, you can use an 802.11g wireless router without the need to replace your wireless card. If you have the option, I would strongly recommend purchasing 802.11g cards for your computers as well to get the maximum benefits of this wireless network technology.

Connecting your wireless router

Before starting, be sure you have a paper copy of all instructions or the router manual in front of you. Sounds simple, I know, but you would be surprised how many people neglect this basic step. Ok, let’s get started!

The first step will be to power down your DSL or cable modem. This will be accomplished by unplugging the devices from the electrical outlets.

Next, connect the wireless router to your modem. I would recommend keeping the distance between the router and modem as close as possible. I have both modem and wireless router setting side by side on my desk.

Included with the wireless router, you should have a short cable. This is your network cable. Plug the network cable into the wireless router in the port labeled INTERNET, WAN OR WLAN. This designation varies depending on the brand of wireless router you purchased. It does not matter which end of the network cable you connect to the router, since the same type of connector is used on both ends.

Once you have connected the network cable to your wireless router, connect the other end of the cable into your modem. Your modem will only have one port available. You will hear a “click” when a secure connection has been established.

Design a site like this with WordPress.com
Get started